Sharing Storage Folders and Access Control#
You may need to share the contents of storage folders with other users or project members to collaborate. For this purpose, Backend.AI provides a flexible folder sharing feature.
Share storage folders with other users#
Let's learn how to share your personal storage folder with other users. First,
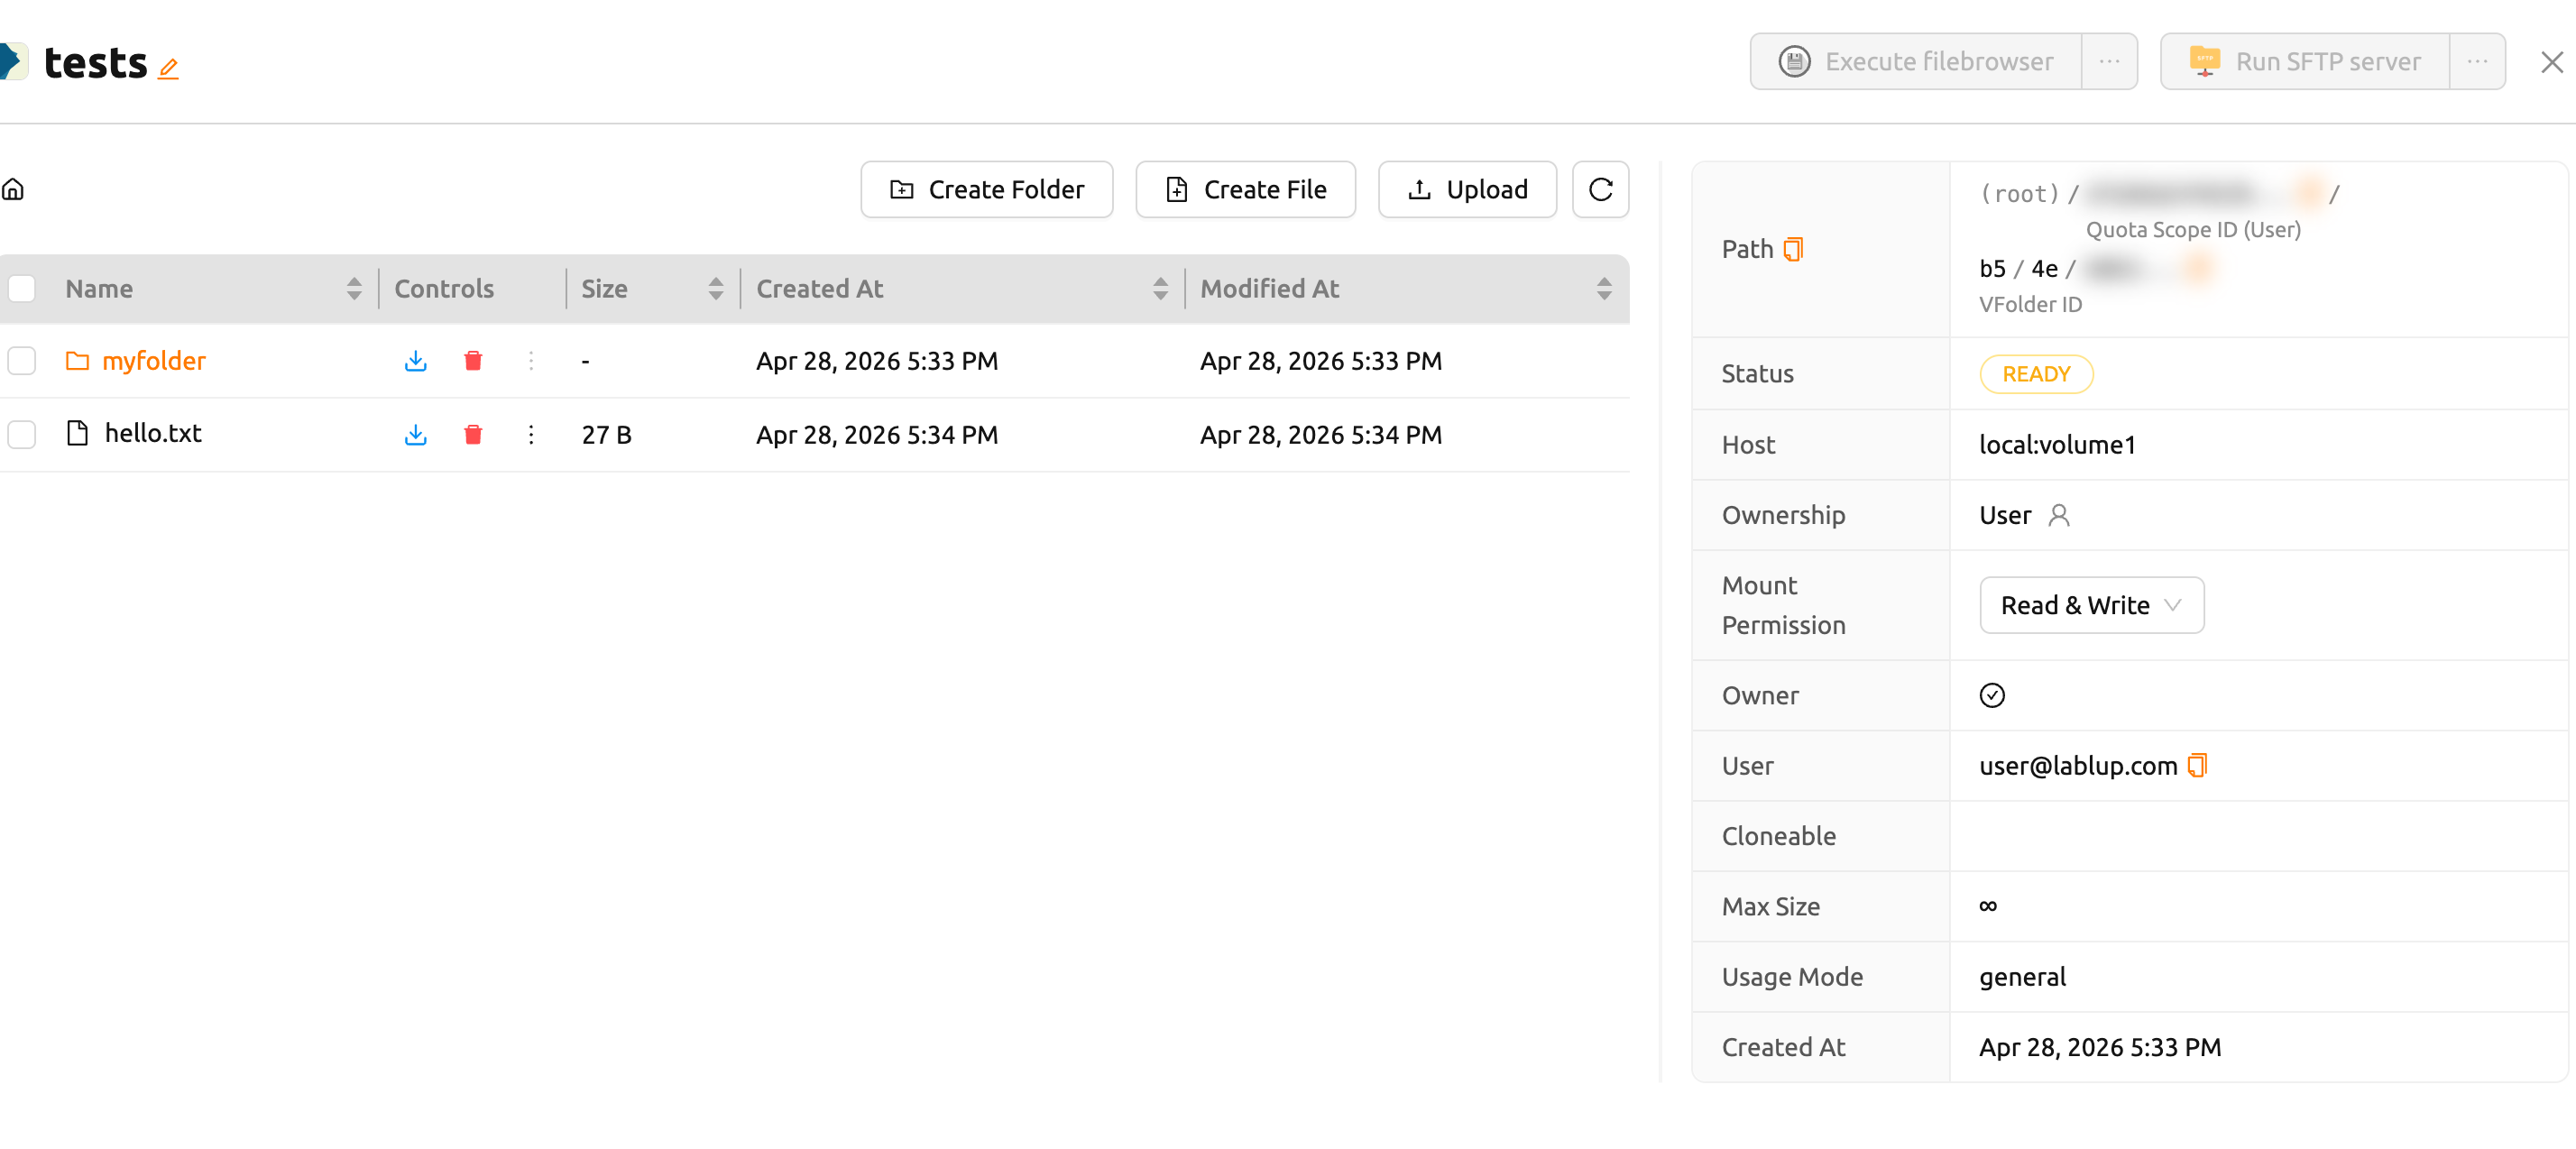
log in to User A's account and go to the Data page. There are several
folders, and we want to share a folder named tests to User B.

Inside the tests folder you can see files and directories like hello.txt
and myfolder.
Confirm that the tests folder is not listed when logging in with User B's
account.
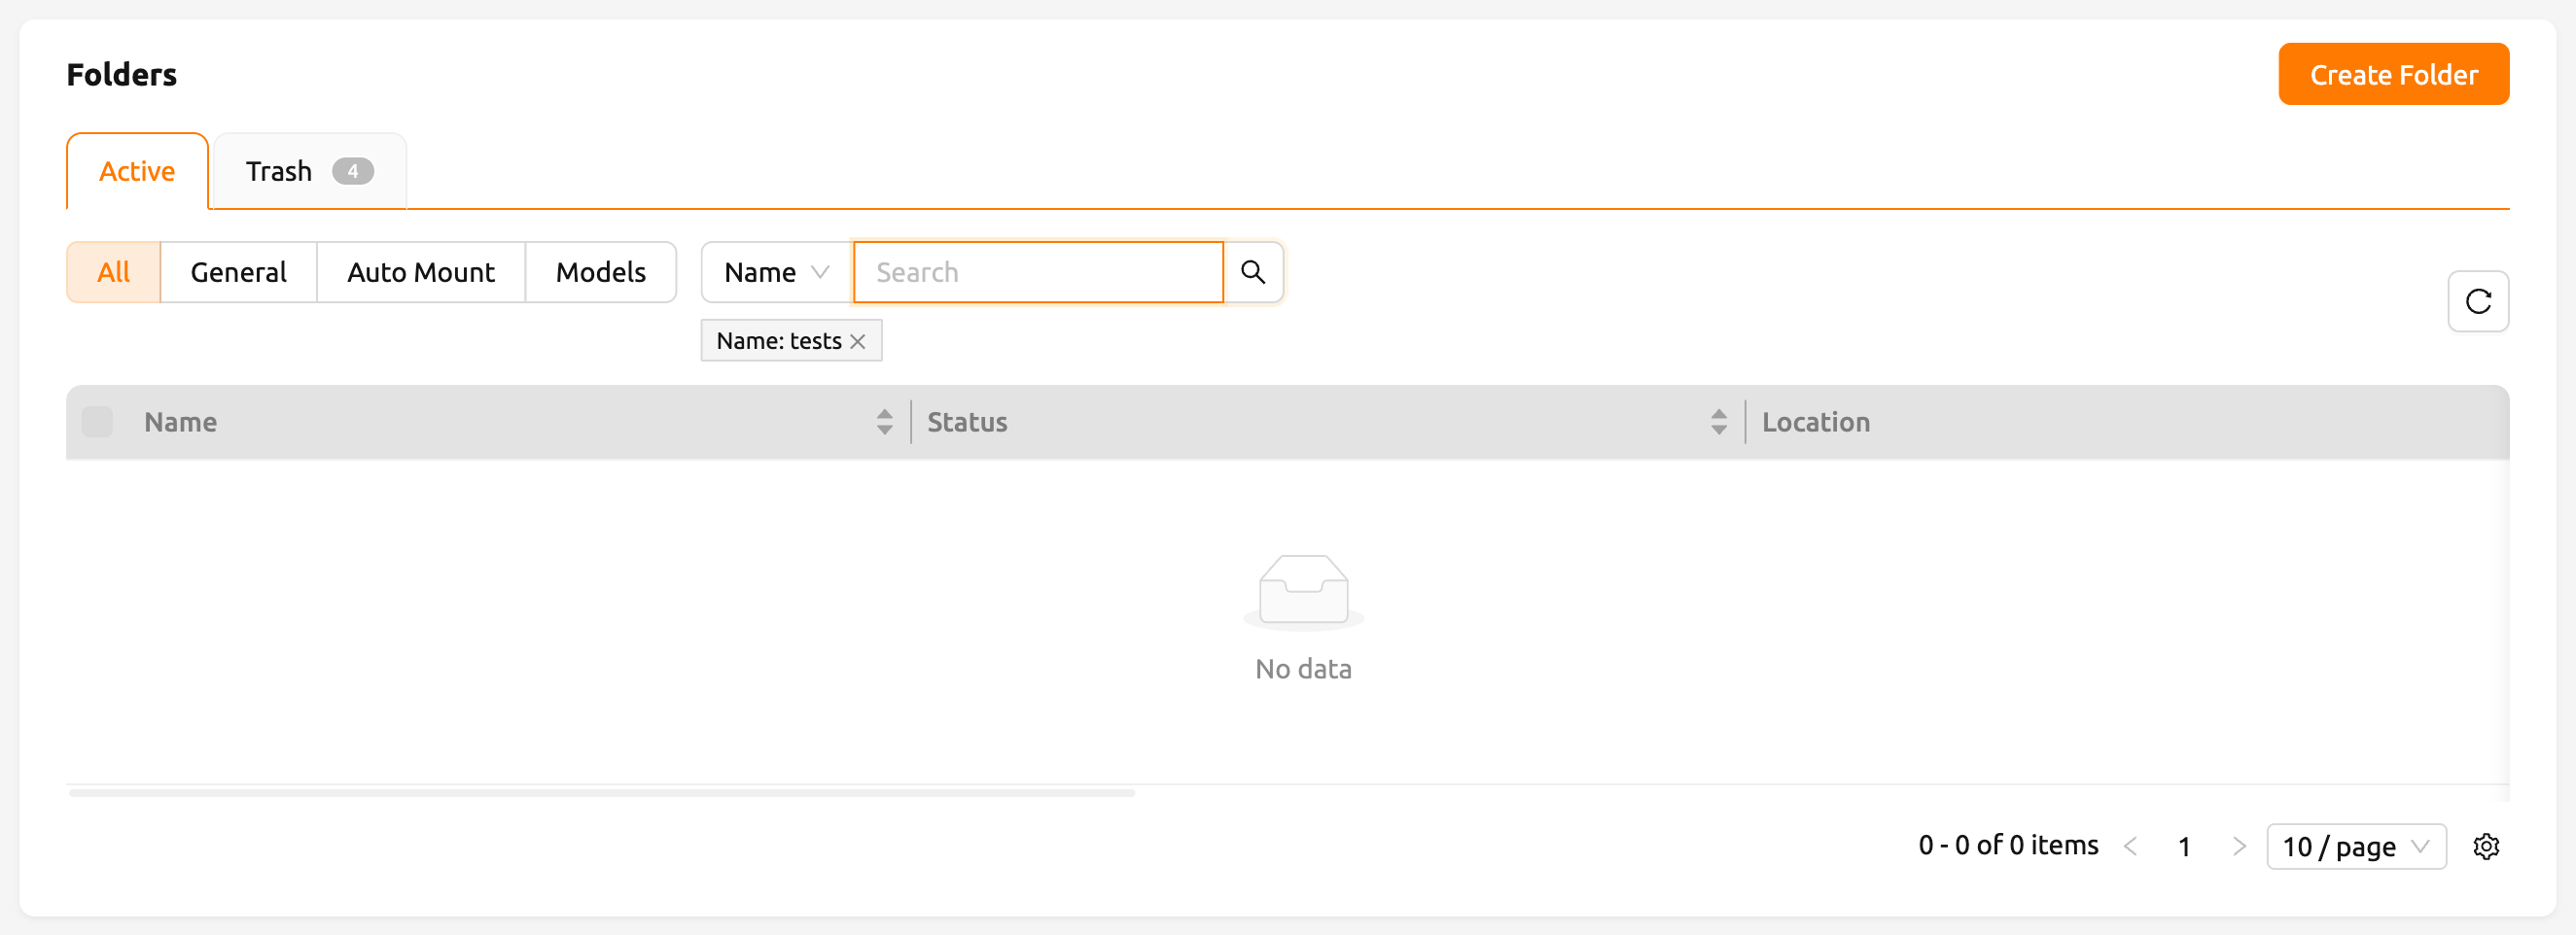
If a folder named tests already exists in User B's account, User A's
tests folder cannot be shared with User B.
Back to User A's account, click the share button next to the tests folder's
name in the list.

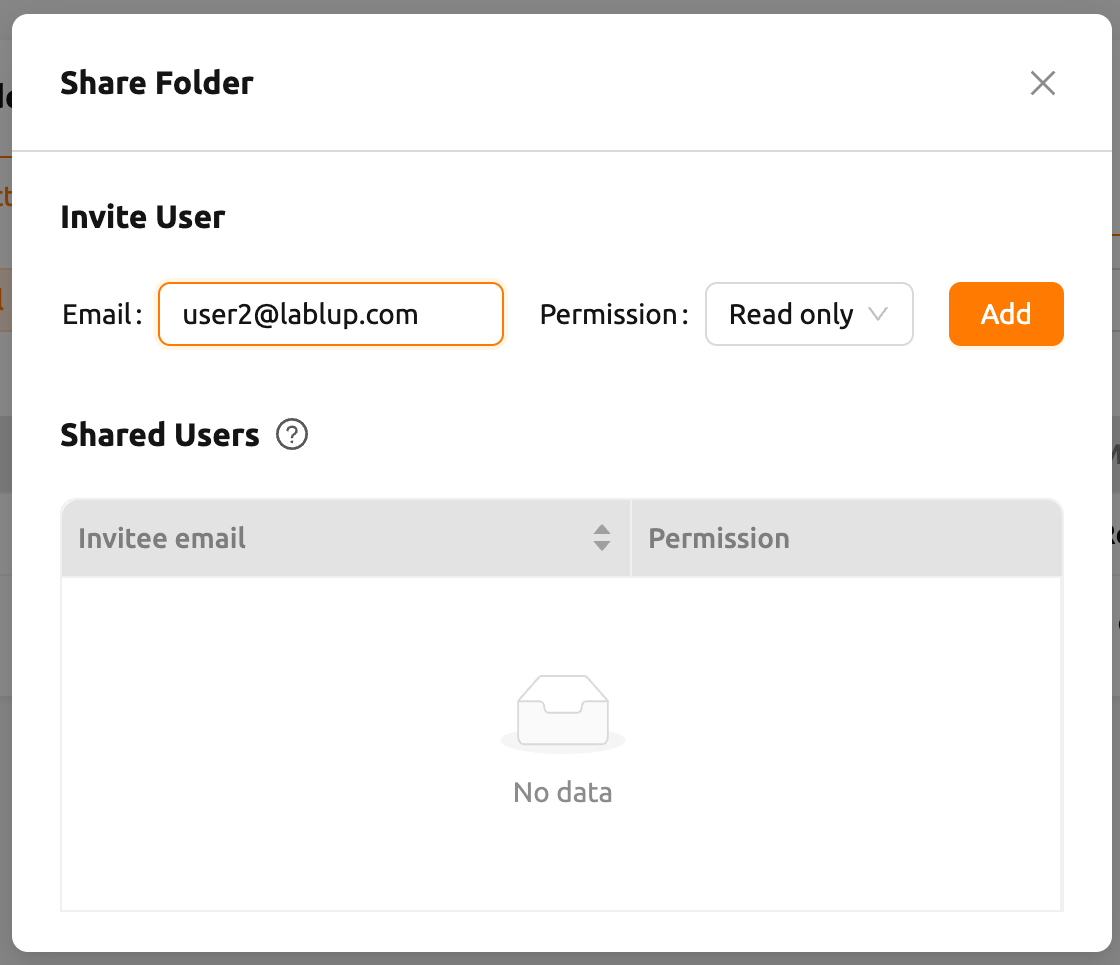
A Share Folder modal opens. In the Invite User section, enter User B's
email address and select the desired permission level from the Permission
dropdown. If you choose Read only, User B will be able to only view the
folder but not modify it. If you select Read & Write, User B will be able to
both view and modify the folder. Click the Add button to send the invitation.
Switch back to User B's account and go to the Data page. When invitations are waiting for a response, a Pending invitations link appears at the top right of the folder list, showing the number of pending invitations.

Clicking the link opens the Invited Folders modal, where pending folder invitations can be accepted or declined.
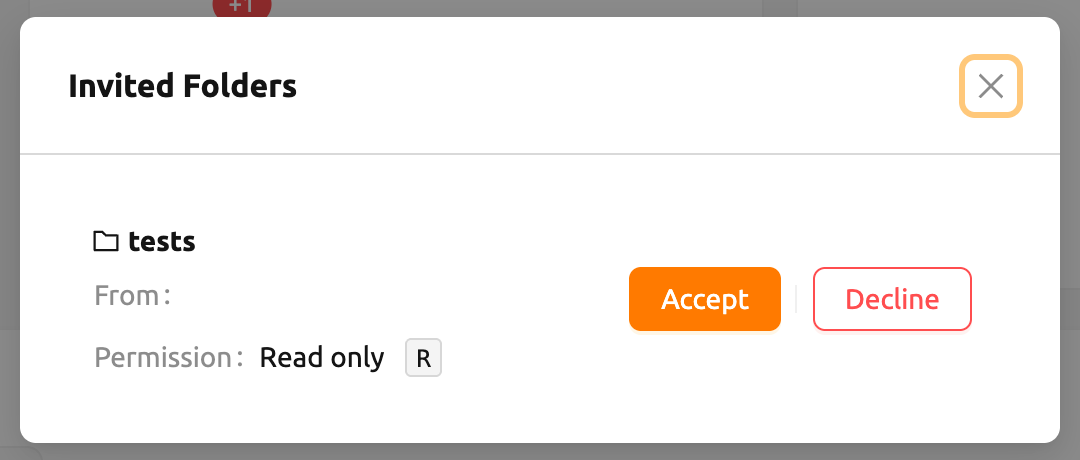
Go to the Data page and check that the tests folder is displayed in
the list. If you don't see it on the list, try refreshing your browser page.
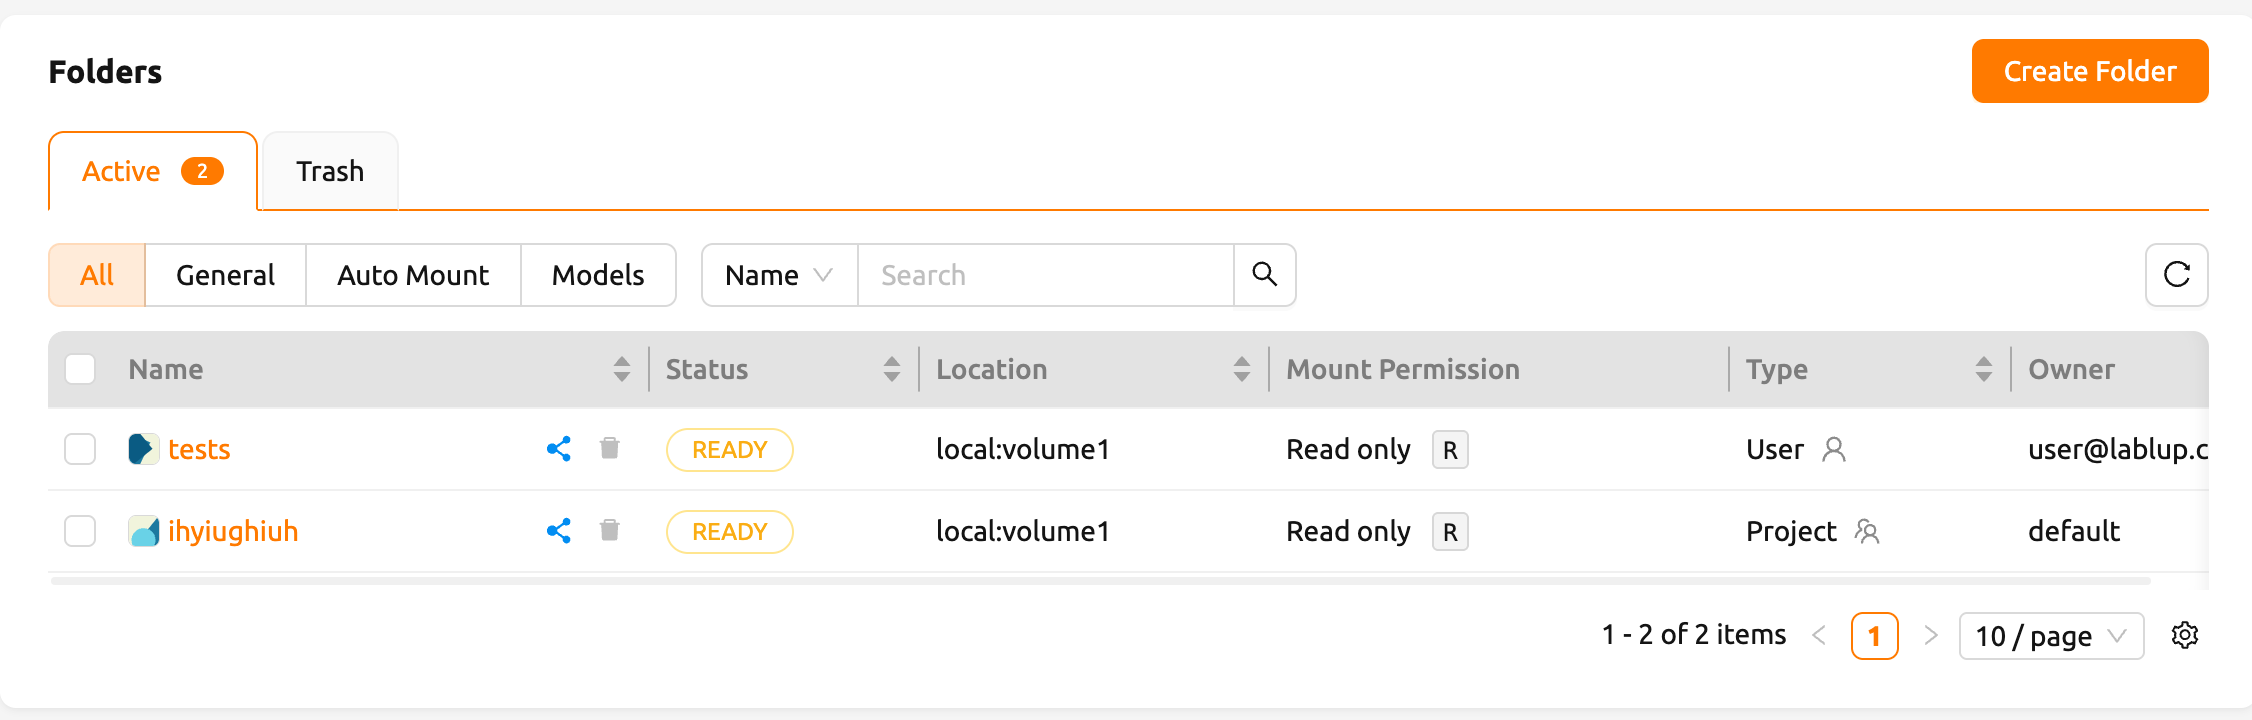
Since you have accepted the invitation, you can now view the contents of User
A's tests folder in User B account. Unlike folders created by User B,
the shared folder shows User A's email address in the Owner column. You
can also see the Read only mark displayed in the Mount Permission column.
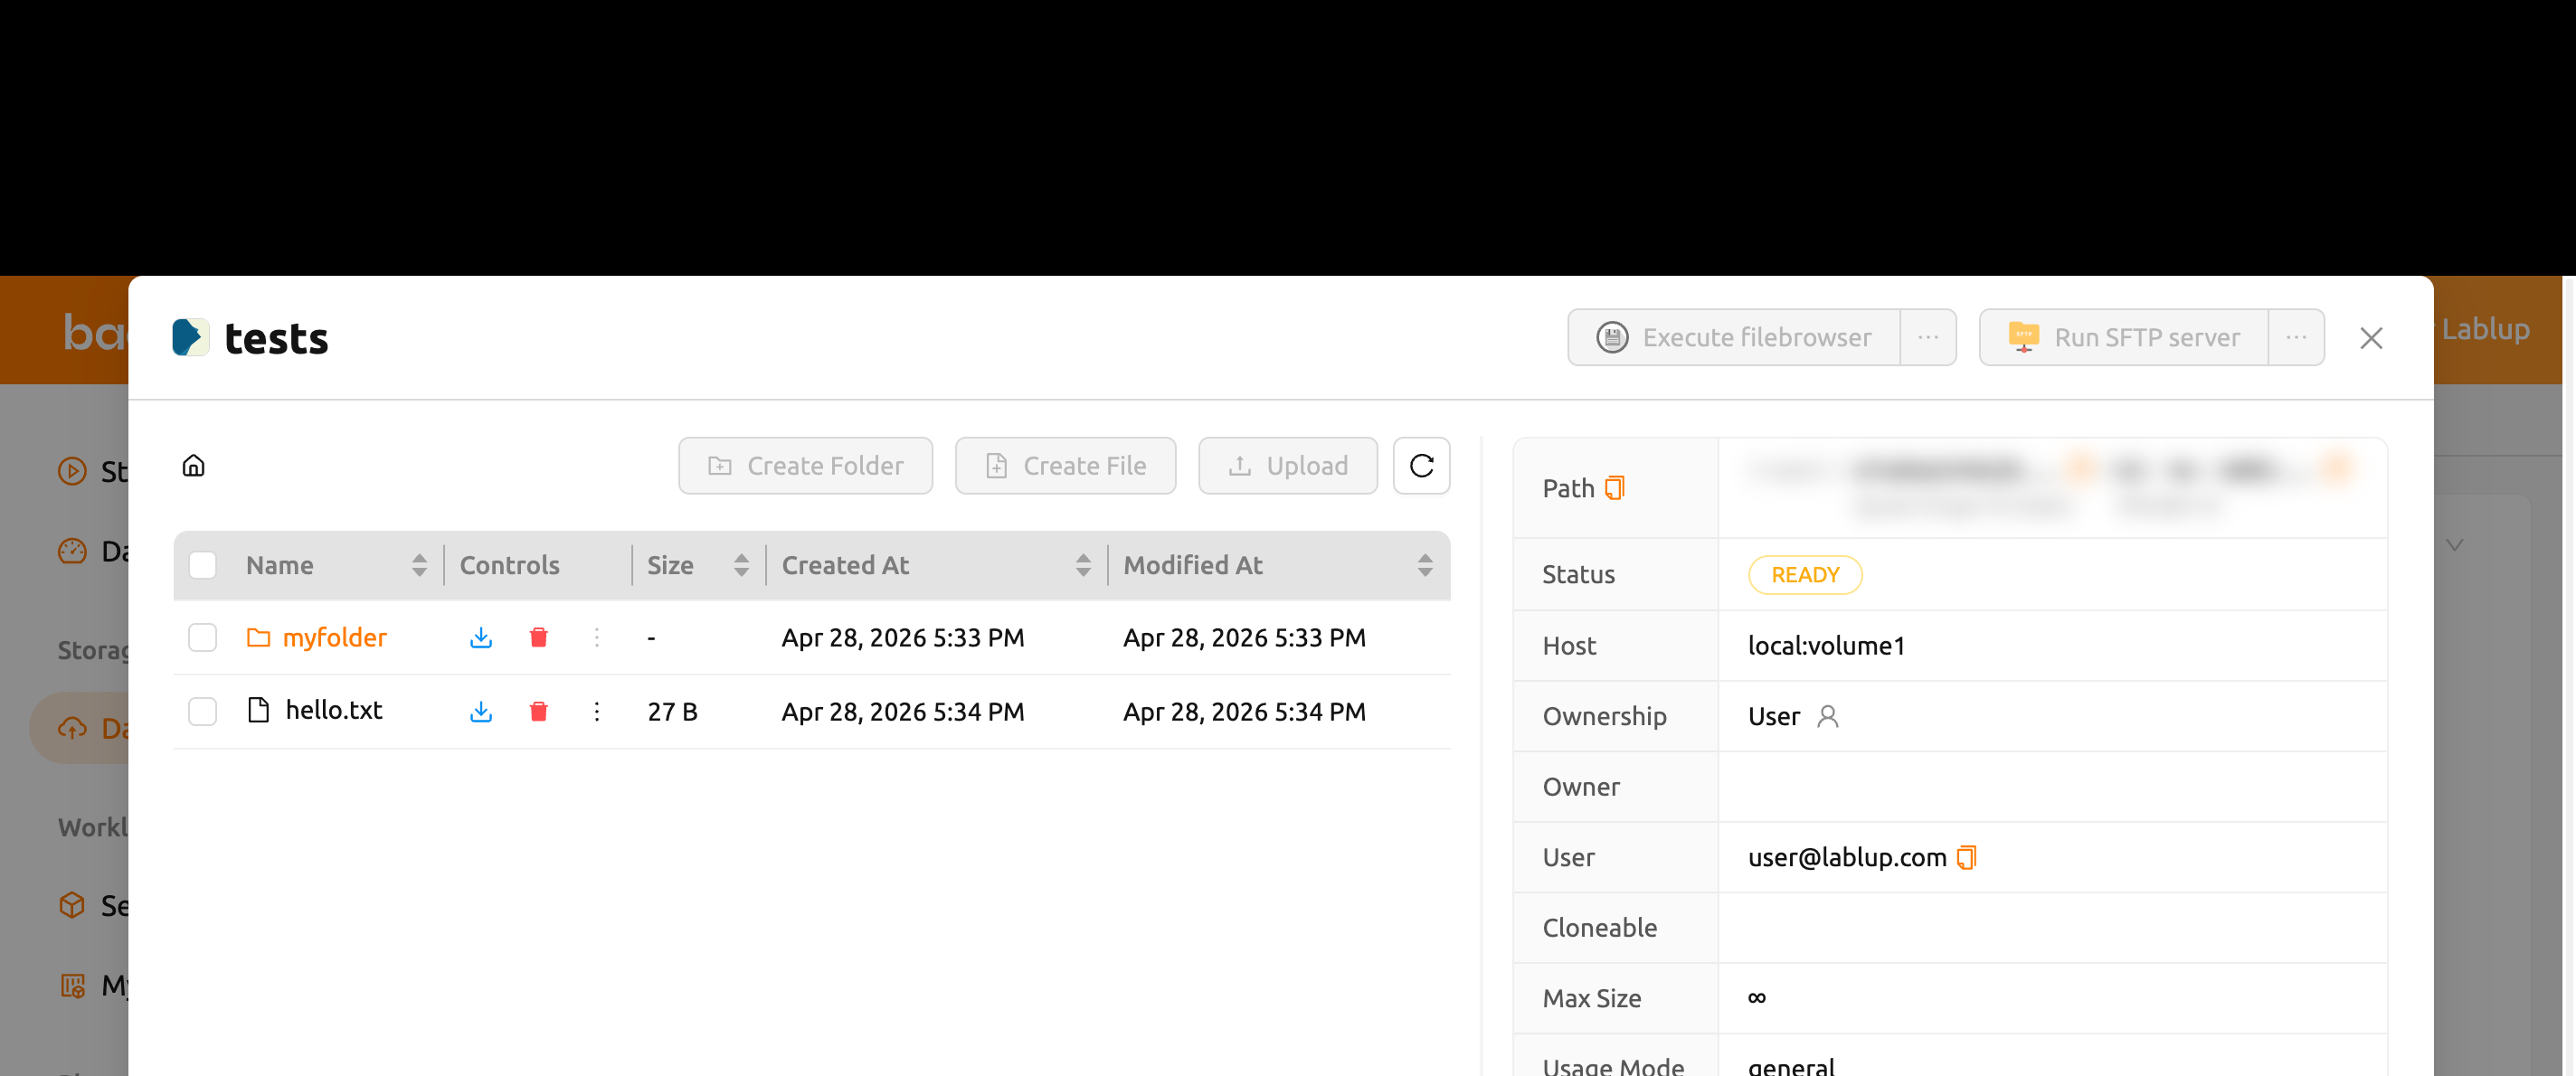
Let's navigate inside the tests folder by clicking its name in the list. You
can check the hello.txt and myfolder that you checked in the User A's
account again. Since User A shared the folder as Read only, the write
actions are disabled in the folder explorer: Upload, Create Folder,
Delete, and the Rename button next to each item cannot be used. User B
can only browse the folder and download its contents.
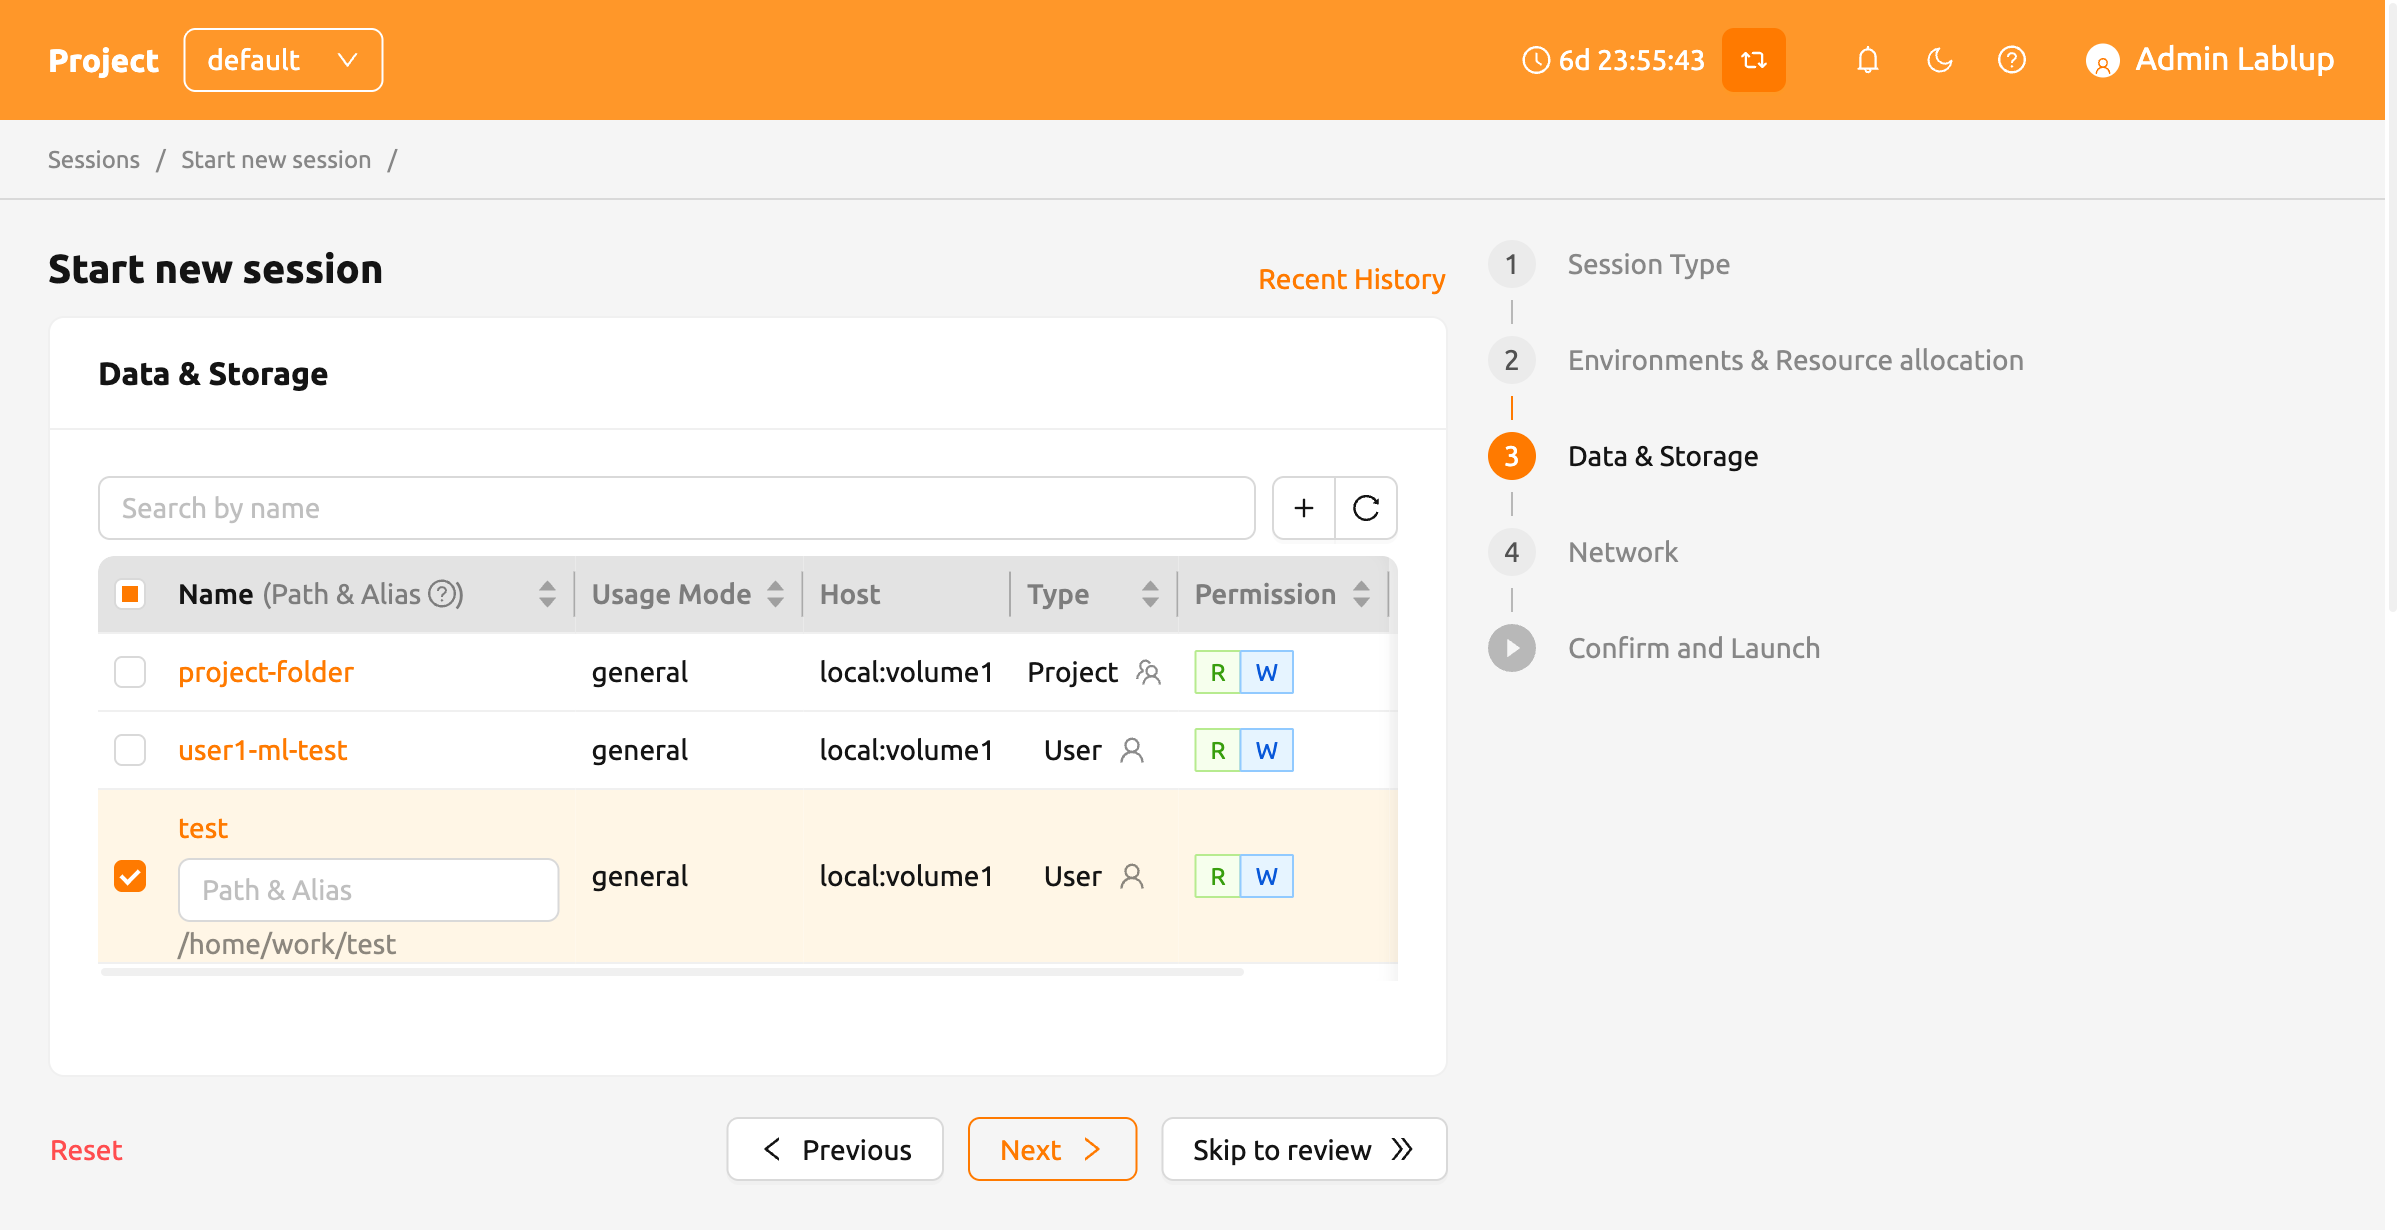
Let's create a compute session by mounting this storage folder with the User B's account.
After creating a session, open the web terminal and check that the tests
folder is mounted in the home folder. The contents of the tests folder are
displayed, but attempts to create or delete files are not allowed. This is
because User A shared it as read-only. User B can create a file in the tests
folder if it has been shared including write access.

This way, you can share your personal storage folders with other users based on your Backend.AI email account.
Backend.AI also provides sharing project folder to project members. For details, go to sharing a project storage folder with project members.
Adjust permission for shared folders#
You can modify the permissions of shared users from the Share Folder modal. The Shared Users section displays a table listing all users who have accepted the invitation. Each row shows the invitee's email address and a permission dropdown. Click the permission dropdown in a user's row to change their access level:
- Read only: The invited user has read-only access to the folder.
- Read & Write: The invited user has read and write access to the folder, including creating, modifying, and deleting files and folders within it.
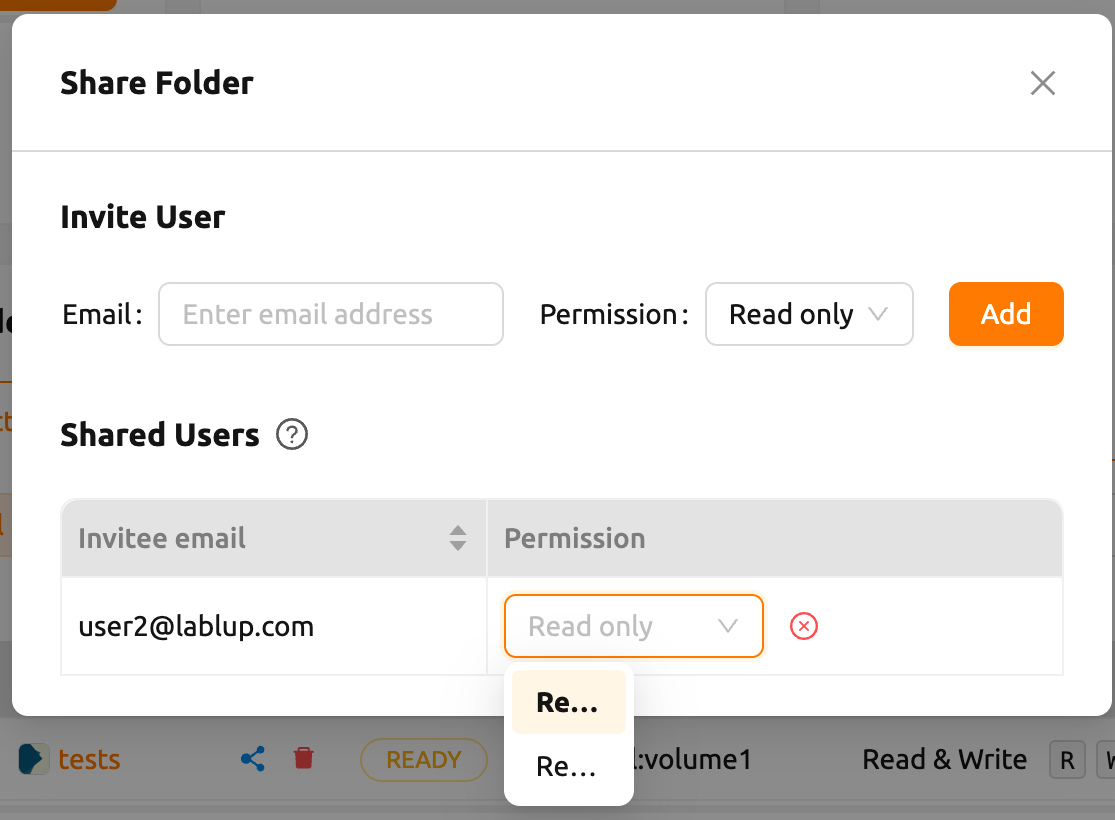
Renaming the folder itself is available only for the owner, even if the user has been granted Read & Write permission. Please note that Read & Write permission does not include renaming the folder.
Stop sharing a folder#
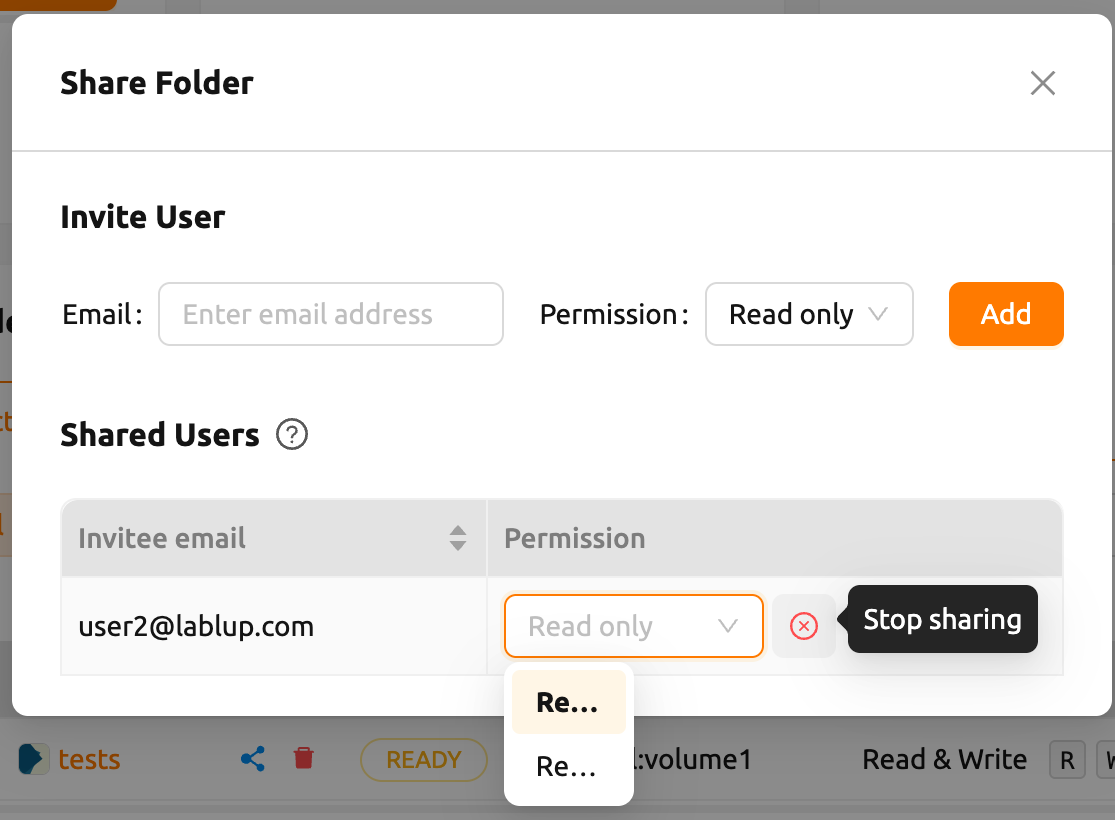
To stop sharing a folder as the inviter, open the Share Folder modal by
clicking the share button next to the folder's name in the folder list. In the
Shared Users table, click the stop sharing icon (red close circle) next to
the permission dropdown in the row of the user you want to remove. A
confirmation dialog will appear asking you to confirm. Click Confirm to
revoke the user's access.
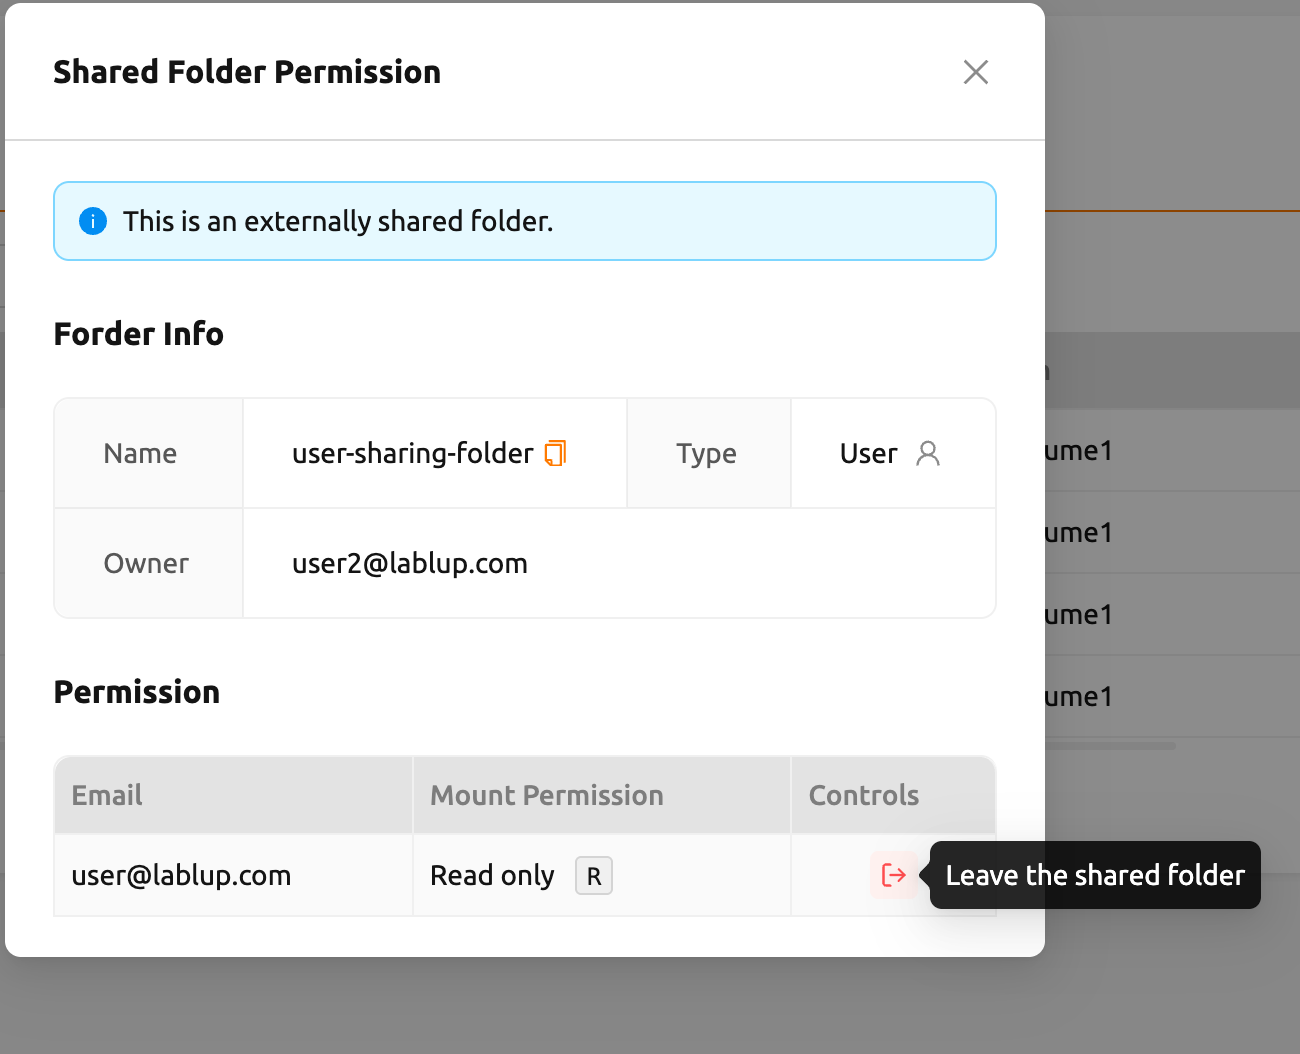
If access to a shared folder is no longer needed as an invitee, click the share button next to the folder in the folder list to open the Shared Folder Permission modal. In the permission table, click the leave icon in the Control column to leave the shared folder. A confirmation dialog will appear before the action is completed.