Summary Page
On the Summary page, users can check resource status and session usage, and there are shortcut links to frequently used functions.
Topbar
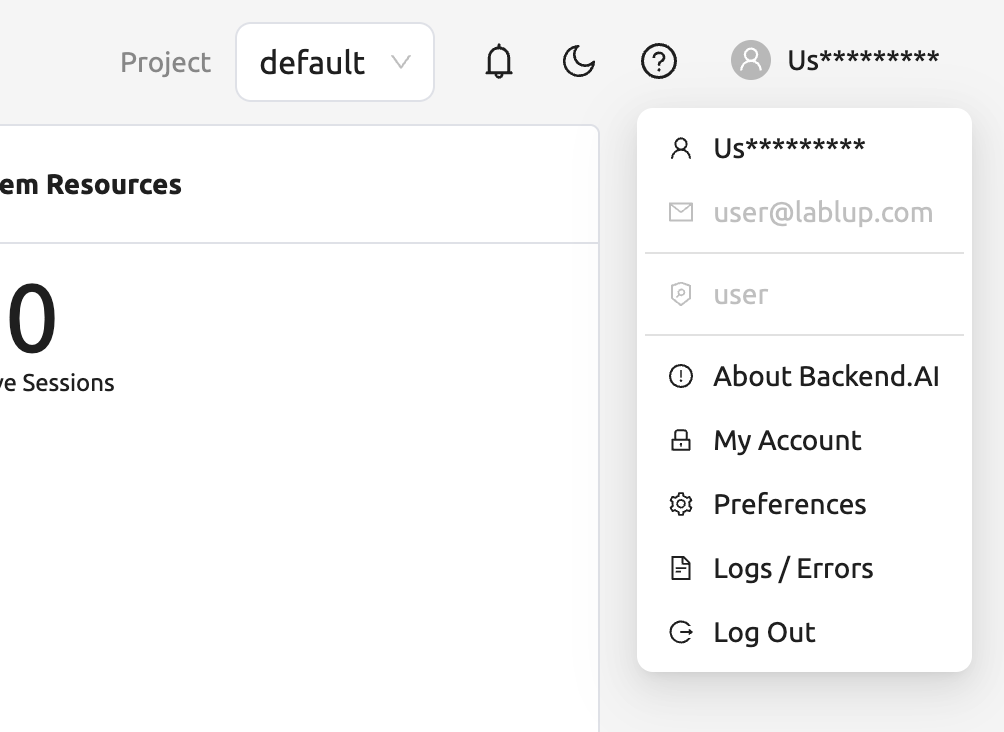
In the middle of the top bar is a drop-down menu to select the user’s current project. If a user belongs to multiple projects, the user can change it from here. Each project may have different resource policies, therefore changing the project also changes the available resource policies. If there are not many users, there may be only one default project.
Click the person icon on the right side of the top bar to see the user menu. Each menu item has the following functions.
About Backend.AI: Displays information such as version of Backend.AI Web-UI, license type, etc.
My Account: Check/Update information of current login user
Preferences: Go to user settings page
Logs / Errors: Go to the log page. You can check the log and error history recorded on the client side.
Log Out: Log out. Users can also logout by clicking the icon on the far right of the top bar.
If you click My Account, the following dialog appears.
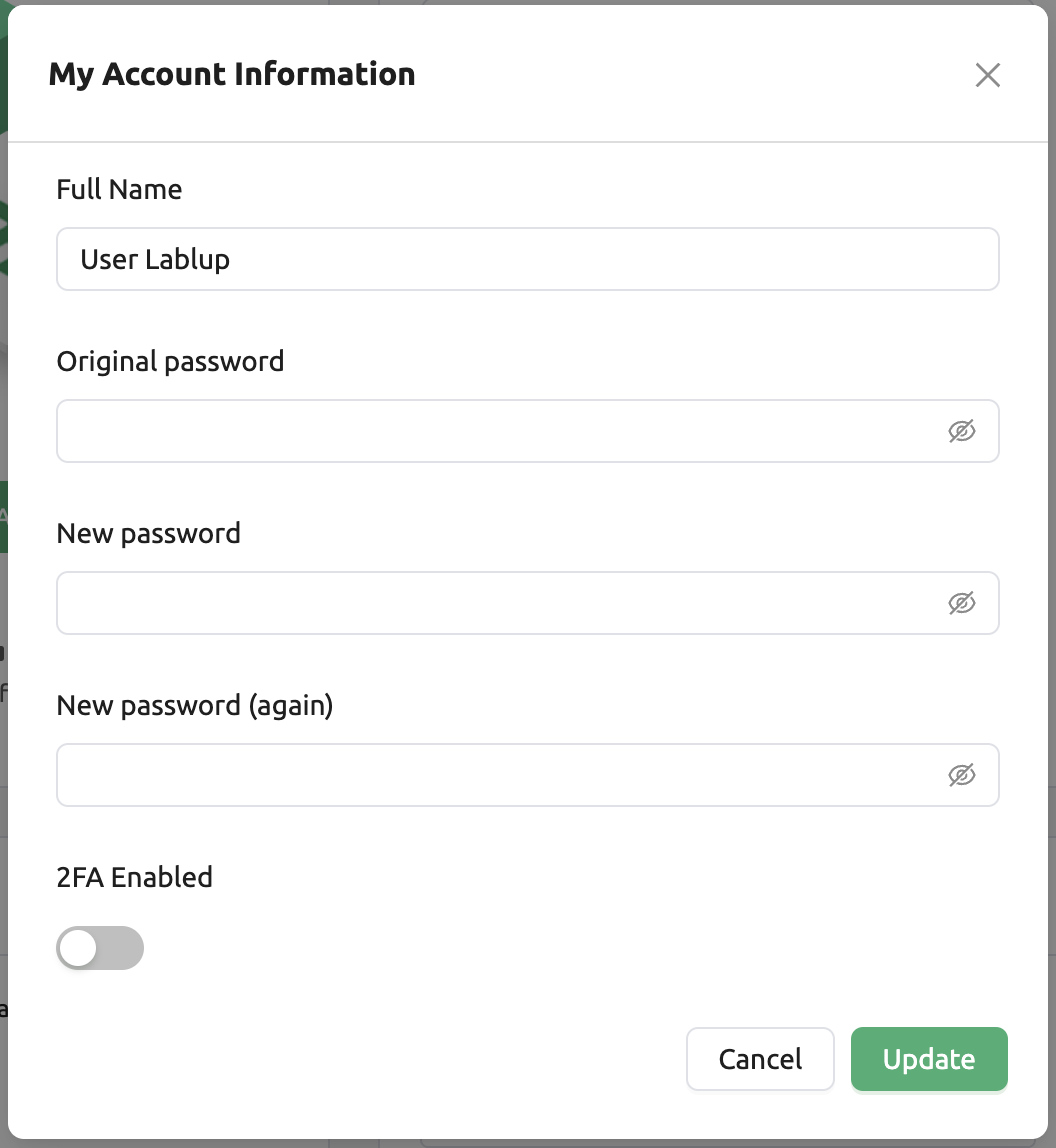
Each item has the following meaning.
Full Name: User’s name (up to 64 characters)
Original password: Original password. Click the right view icon to see the input contents.
New password: New password (8 characters or more containing at least 1 alphabet, number, and symbol). Click the right view icon to see the input contents. Ensure this is the same as the Original password.
2FA Enabled: 2FA activation. The user needs to enter the OTP code when logging in if it is checked.
Note
Depending on the plugin settings, the 2FA Enabled column might be invisible.
In that case, please contact administrator of your system.
Enter the desired value and click the UPDATE button to update the user information.
2FA Setup
If you activate the 2FA Enabled switch, the following dialog appears.
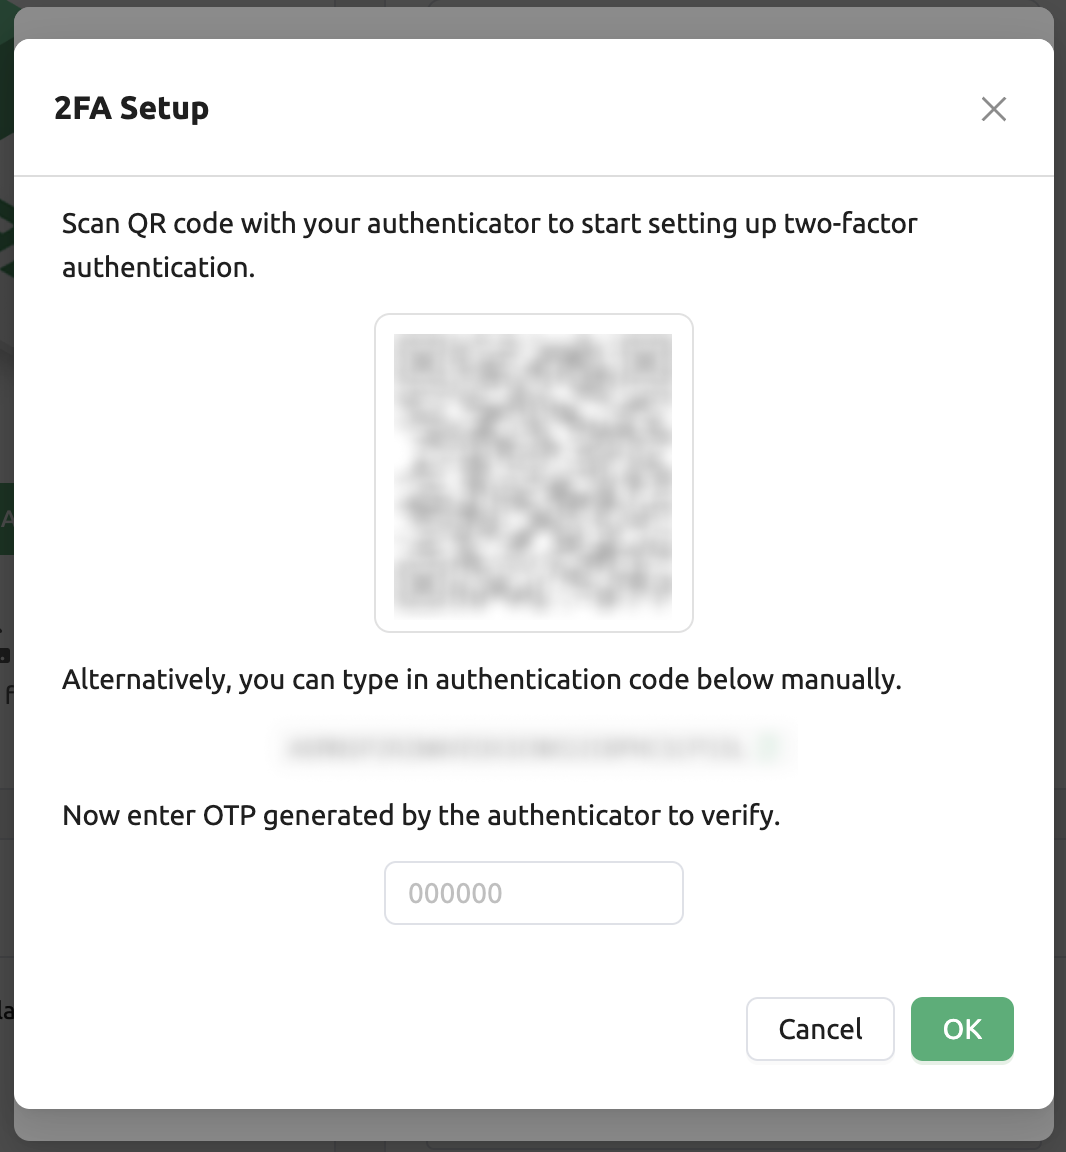
Turn on the 2FA application you use and scan the QR code or manually enter the verification code. There are many 2FA-enabled applications, such as Google Authenticator, 2STP, 1Password, and Bitwarden.
Then enter the 6-digit code from the item added to your 2FA application into the dialog above. 2FA is activated when you press the CONFIRM button.
When you log in later, if you enter an email and password, an additional field appears asking for the OTP code.
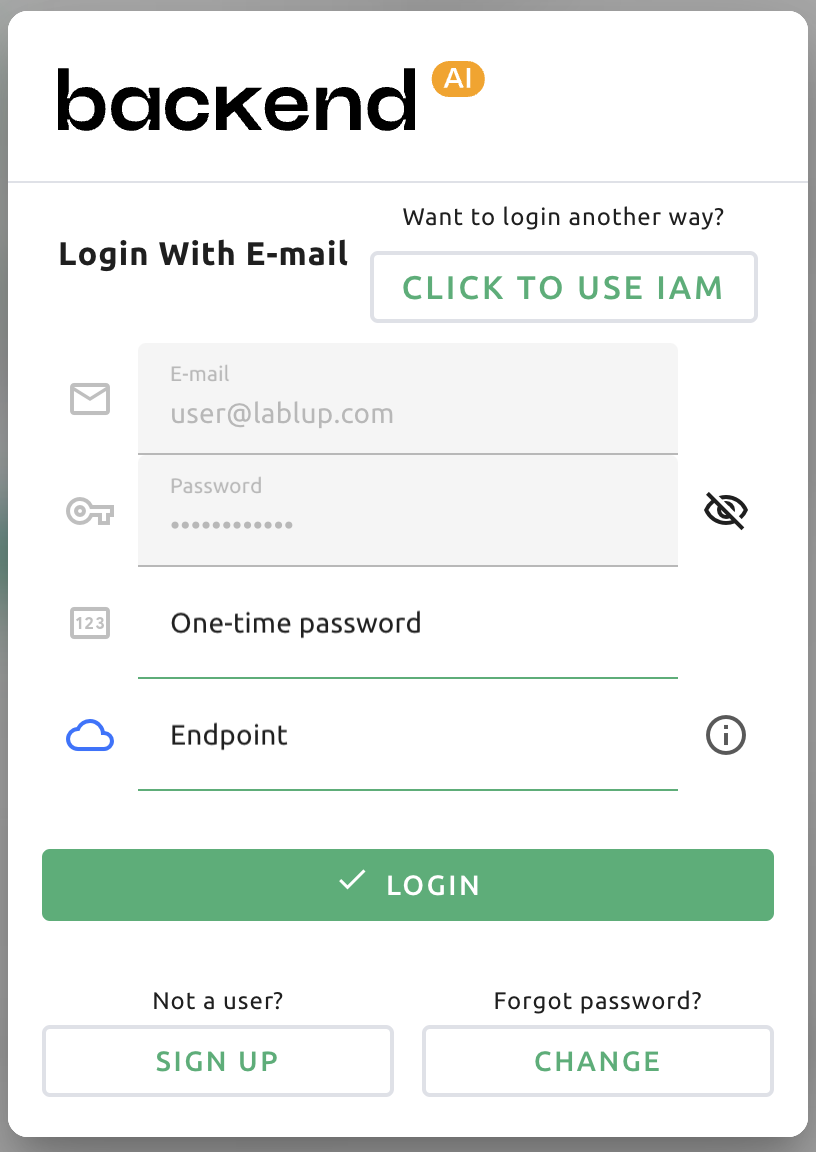
To log in, you must open the 2FA application and enter a 6-digit code in the One-time password field.
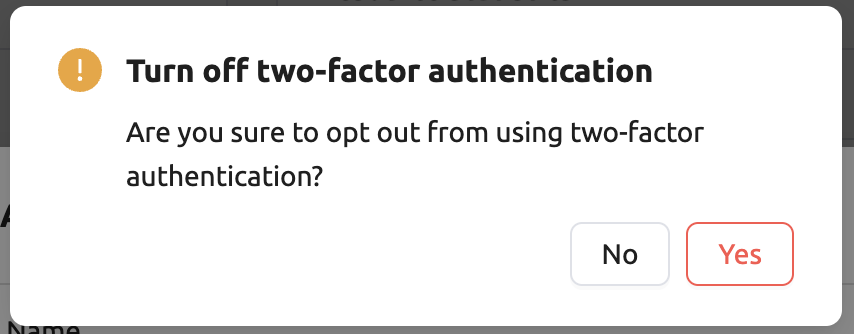
If you want to disable 2FA, turn off the 2FA Enabled switch and click the confirm button in the
following dialog.
Summary panel

Various convenience panels are located under the top bar.
Resource Statistics
It shows the total amount of resources the user can allocate and the amount of resources currently allocated. You can check the user’s CPU, memory, and GPU resource occupancy and quota respectively. Also on the Sessions slider, you can see the maximum number of compute sessions you can create simultaneously and how many compute sessions are currently running.
You can change the resource group by clicking the Resource Group field at the top. Resource group is a concept to group multiple Agent nodes as a single resource unit. If you have many agent nodes, you can configure settings such as assigning them to a specific project for each resource group. When there is only one agent node, it is normal to see only one resource group. If you change the resource group, the amount of resources may change depending on the amount of resources held by that resource group (agents belong to it).
System Resources
It shows the number of Agent worker nodes connected to the Backend.AI system and the total number of compute sessions currently created. You can also check the CPU, memory, and GPU utilization of the agent node. If you are logged in as a normal user, only the number of compute sessions you have created is displayed.
Announcement
Announcements will be displayed here. Announcements can be made through a separate admin UI (Control-Panel).
Invitation
If another user has shared their storage folder to you, it will be displayed here. If you accept the share request, you can view and access the shared folder in the Data & Storage folder. The access rights are determined by the user who has sent the share request. Of course, you can decline the sharing requests.
Download Backend.AI Web UI App
Backend.AI WebUI supports desktop applications. By using desktop app, you can use desktop app specific features, such as SSH/SFTP connection to a Compute Session . For now Backend.AI WebUI provides desktop application with following OS:
Windows
Linux
Mac
Note
When you click the button that match with your local environment (e.g. OS, Architecture), It will automatically downloads the same version of current webUI version. If you want to download later or former version of WebUI as a desktop app, please visit here and download the desired version(s).